When your favorite singer has released a new album recently, you can’t
wait to purchase the newest music video from iTunes Store. The dances are
awesome in the MV. So you also want to share the wonderful MV with your
dance-loving friends. But can't play the iTunes music video on their Android
Phones?
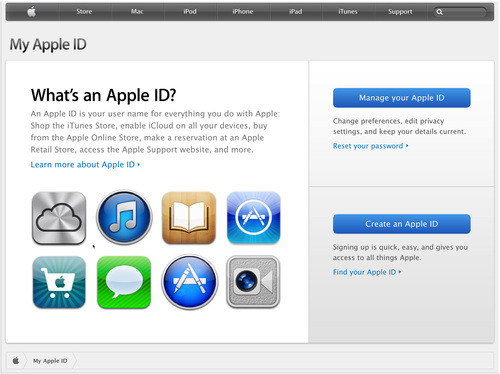
At first, you need to know the purchased iTunes video has been encrypted
by the Apple's DRM copyright protection. Apple use DRM M4V in iTunes store to
avoid copyright infringement. You can only play protected M4V files on
authorized computers and Apple devices.
Don't worry. With M4V Converter Plus for Win, after the conversion, your
M4V files without DRM protection can be played on Android Phones and the other a
variety of media players like VLC media player etc. M4V Converter Plus is a
full-featured application to convert iTunes purchases and rentals including
Movies, TV Shows and music videos. You can retain the original chapters,
multiple audio tracks and subtitles. You can follow the simple steps to convert
iTunes video to play on Android phone.
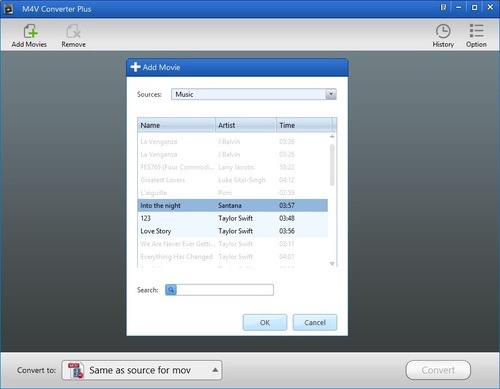
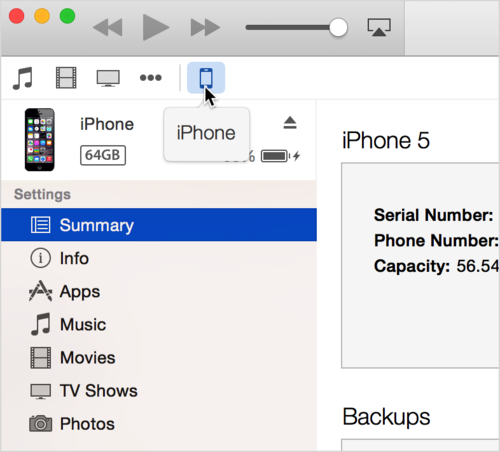
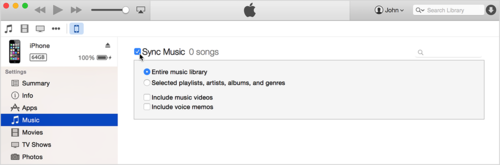
Add iTunes music video
Click the Add Movies button to open the adding window and choose Music in
the Sources list. Select one iTunes music video and click OK button to add.

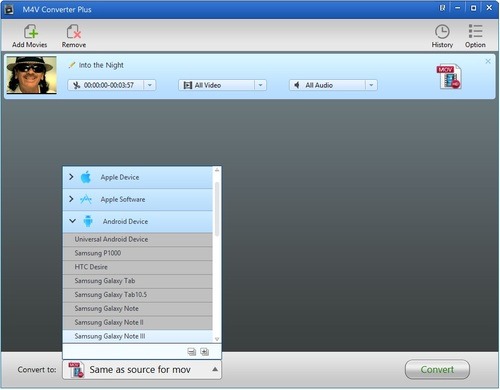
Set Android output format
Click Convert to list to choose Android Device and select one appropriate
output format.

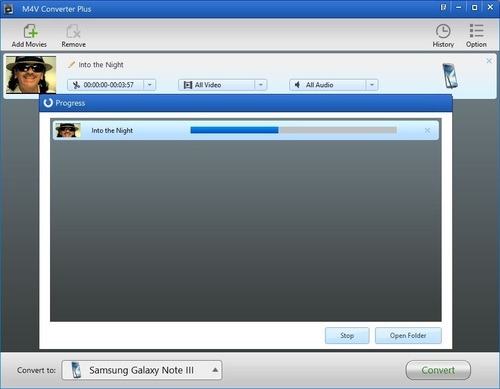
Start the conversion
After upper settings, just click Convert button to start the conversion
to convert iTunes music video to Samsung Galaxy Note 3 format.
You can click Open Folder button to check the output file during the
conversion. And you can also check the output file in the history list after
the conversion. The history can record the converted profiles and files. It is
convenient for you to arrange your converted files.
Now you can see M4V Converter Plus can get rid of the DRM protection
while converting. It can convert iTunes M4V videos to a variety of output
formats like MP4, MOV, AVI, FLV, WMV etc with good output quality and high
conversion speed. Besides as a good DRM Removal and Converter, M4V Converter
Plus can customize duration to clip the video. It supports customizing which
chapters or audio tracks to save.
Download M4V Converter Plus for Mac and Win to have a try from here. You
will find M4V Converter Plus always can help you a lot.